
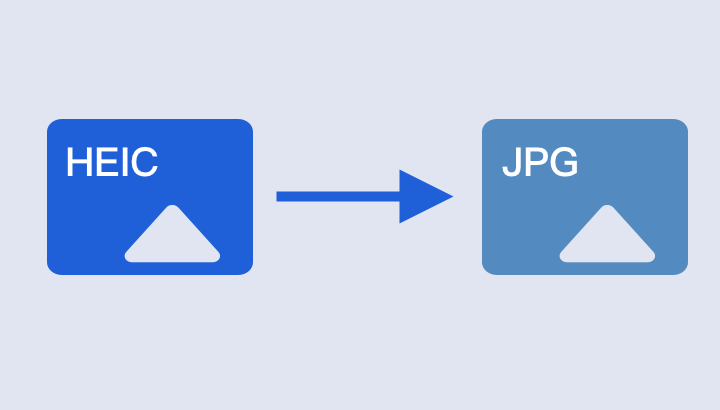
In 2017, Apple introduced a new default photo format for the iPhone, HEIC. This High Efficiency Image Container format offers impressive advantages, powering Live Photos and enabling superior image post-processing, all while taking up less space than JPG. However, it can sometimes cause compatibility issues.
HEIC works seamlessly among Apple devices, but when you need to upload a photo to an online form or open it on Windows, you might encounter problems since it’s often not compatible.
There are several ways to manage this issue. You can convert HEIC images to JPG (or JPEG) on your iPhone, change your iPhone settings to shoot photos in JPG, or convert HEIC photos on your Mac or Windows PC.
Change Your iPhone’s Default Photo Format
If you prefer not to use the HEIC format, you can switch your Camera app’s default format to JPG. Go to Settings > Photos > Formats and select “Most Compatible.” Future photos will be saved in JPG, making sharing easier.
Additionally, there’s a setting that converts photos to JPG when sharing with Windows or Mac, but keeps them as HEIC on your iPhone to save space. To enable this, go to Settings > Photos > Transfer to Mac or PC and choose “Automatic.”
Use the Finder Feature on Mac to Convert HEIC to JPG
For Mac users running macOS Monterey or later, there’s a built-in image conversion tool in the Finder app. Select the HEIC photos, right-click, and go to Quick Actions > Convert Image. Choose “JPEG” and click “Convert to JPEG.”
On older Macs, use the Preview app. Open the image in Preview, go to File > Export, select “JPG” from the format dropdown, and click “Save.”
Convert HEIC to JPG on Your iPhone Using the Files App
You can quickly convert HEIC photos to JPG on your iPhone using the Files app. Open the Photos app, select the photos to convert, tap the Share icon, and choose “Copy Photos.” Open the Files app, choose On My iPhone, create a new folder, tap and hold an empty space, and select “Paste.” The photos will now be in JPG format. To save them back to the Photos app as JPG, tap the Share button and choose “Save Image.” This method is best for converting a few photos at a time.
Use the Documents App to Share JPGs Without Converting
The Documents by Readdle app is a reliable option for converting HEIC to JPG. The app converts HEIC images to JPG by default, eliminating the need for manual conversion. Open the app, go to Photo Albums, select an image, tap the Share button, and send it via AirDrop, email, or chat message.
Open HEIC Images in the Photos App on Windows
Windows allows you to open HEIC images in the Photos app if you install the HEIF Image Extensions (free) and HEVC Video Extensions ($0.99) from the Microsoft Store. Once installed, you can open HEIC files in the Photos app and convert them to JPG.
Convert HEIC to JPG on Windows Using CopyTrans
CopyTrans for Windows is a popular app for converting HEIC to JPG. This free app integrates with File Explorer. Select the HEIC file, right-click, and choose “Convert to JPEG with CopyTrans” to create a JPG version in the same folder.
Use Online Websites to Convert HEIC Photos
For a quick conversion of a few HEIC photos, online image converter websites like Cloud Convert are convenient. Drag the HEIC photos into the site, click “Convert,” and download the resulting JPG files.
By using these methods, you can easily handle HEIC photos and ensure compatibility across different platforms and applications.

")


